Remote Sensing for Forestry
Many governments, state, and private forestry organizations and agencies today utilize geospatial technology such as GIS (geographic information systems) and satellite imagery for various applications supporting analysis, assessment, and management of our forests.
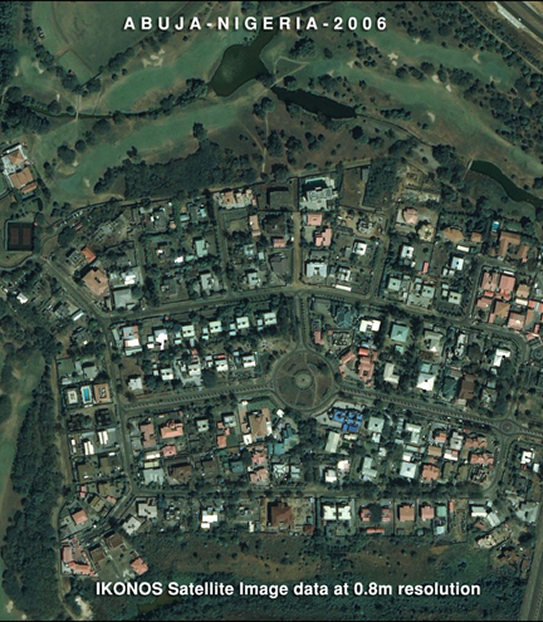
Many applications of forestry and natural resources require accurate land cover and change analysis. Changing conditions due to urban sprawl, as well as increasing forest fragmentation, make a land cover and change detection analysis an extremely important consideration for management, planning, and inventory mapping. This includes ecosystem and species diversity, forest productivity, reforestation, forest health, conservation of soil, water resources, and nutrient cycling.
Pleiades-1A Satellite Sensor (0.5m)
Copyright © AIRBUS Defence & Space. All rights reserved.
Fire and Emergency Mapping
Satellite images and GIS maps support fire and emergency personnel for responding to emergency situations, hazardous fuels reduction, community assistance, firefighting, rehabilitation, and restoration. In order to model a forest fire, the techniques for obtaining, analyzing, and displaying spatial information in a timely and cost-effective manner are needed which has proven not only to be possible, but incredibly efficient and effective.
Short Wave Infra-Red (SWIR)
SWIR satellite imagery enables the ability to see through the dense smoke of wildfires to locate flames and hot spots. The SWIR image is a “false color” composite made from three of the eight SWIR bands (bands 6, 3, and 1) that coincidentally give an orange color to the fire.
WorldView-3 SWIR (3.7m) Satellite Image of Wildfires in California’s Klamath National Forest, USA
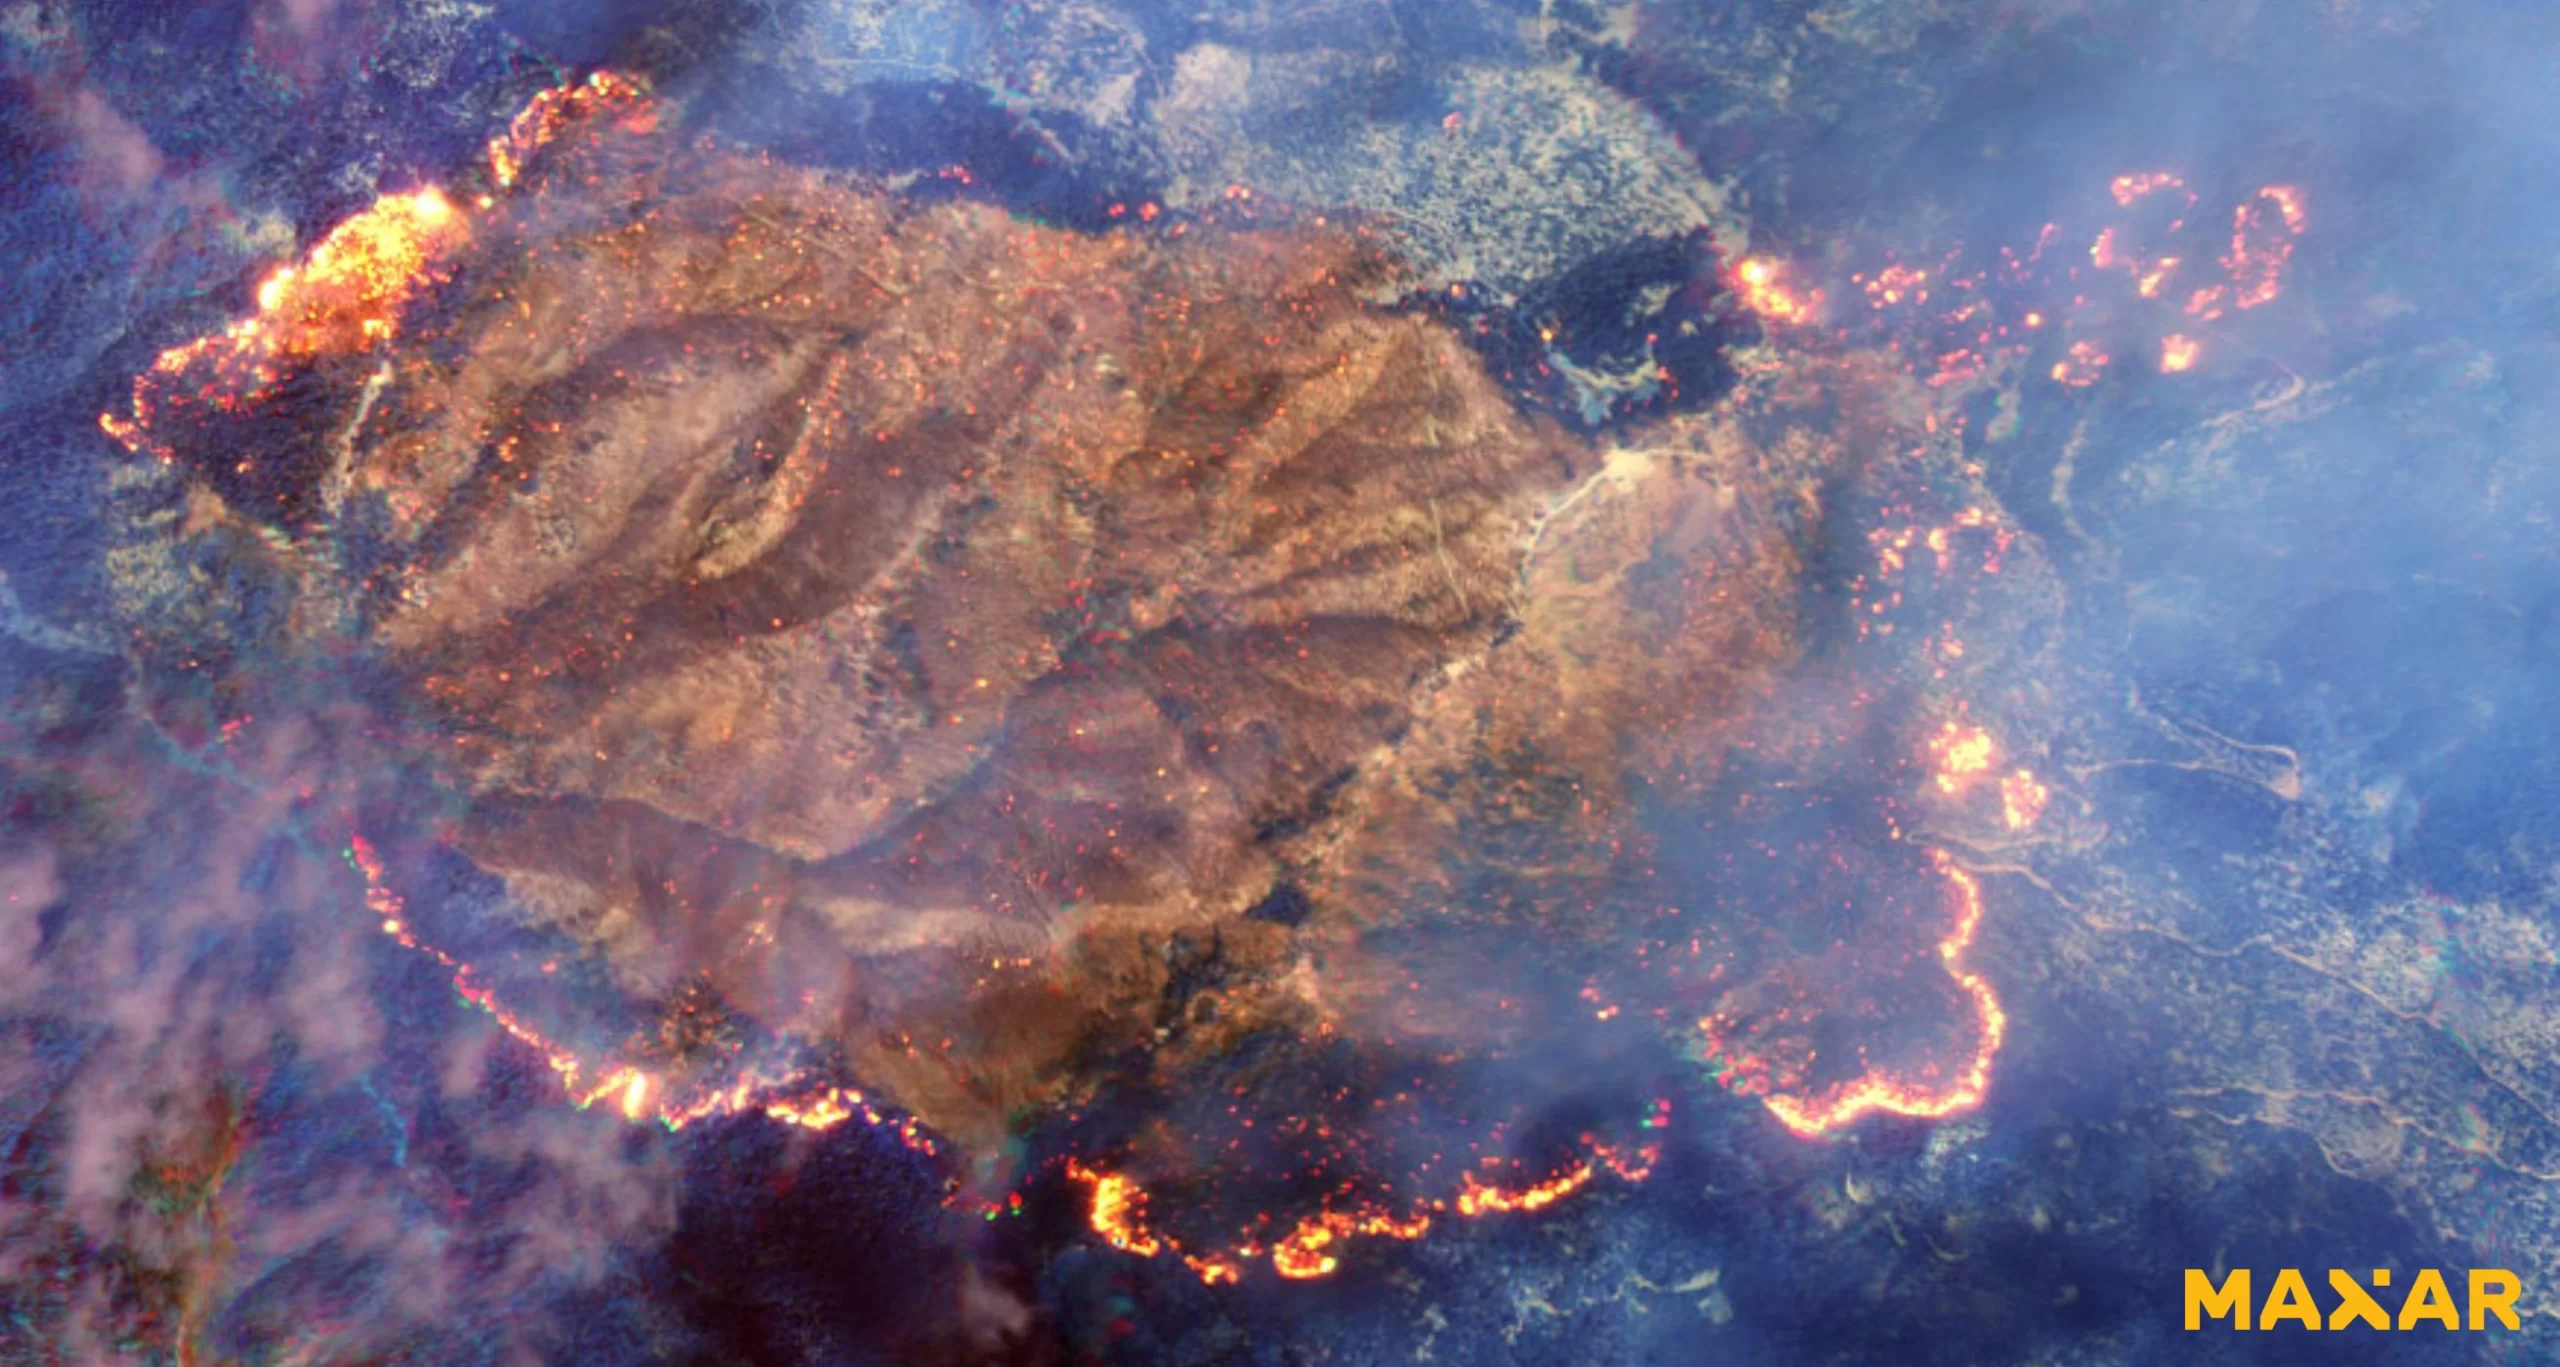
Copyright © MAXAR. All rights reserved.
The WorldView-3 SWIR image below is a an example of a heat map using all eight SWIR spectral color bands where the wildfires are most intense at Happy Camp Complex wildfires in 2014, in Klamath National Forest, California.
WorldView-3 SWIR (3.7m) Satellite Image of Wildfires in California’s Klamath National Forest, USA
Copyright © MAXAR. All rights reserved.
WorldView-3 Satellite Map Forest Fires Animation – Canada
Click on the image to view animation
Copyright © MAXAR/processed by Satellite Imaging Corporation. All rights reserved.
WorldView-3 satellite provides 30cm panchromatic resolution, 1.24 m multispectral resolution, 3.7m short wave infrared resolution (SWIR). The satellite is capable of collecting up to 680,000 km2 per day.
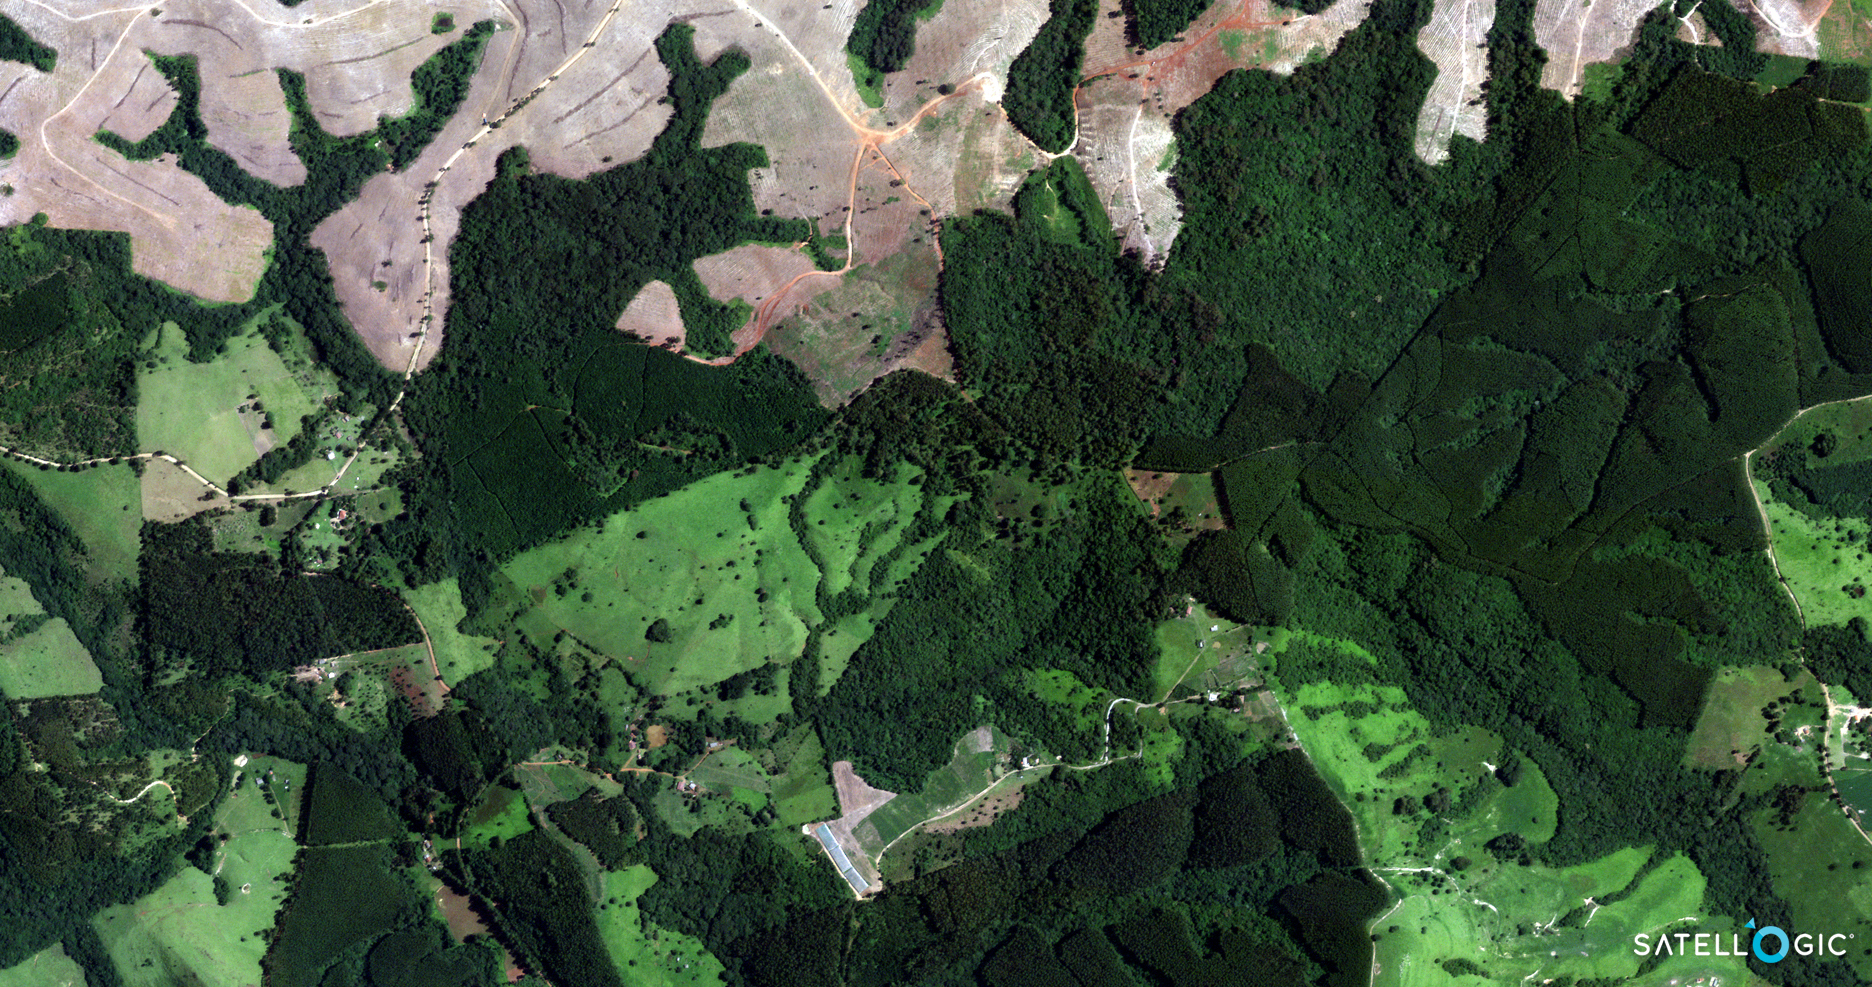
Remote Sensing and Artifical Intelligence (AI) for Deforestation
Deforestation has been attributed to socio-demographic factors, such as population growth, and the political economy of class structure, and specific exploitation activities like commercial logging, forest farming, fuel wood gathering, agriculture, and pasture clearance for cattle production.
Utilizing high-resolution multi-spectral satellite imagery in deep learning environments such Artificial Intelligence (AI), Machine Learning (ML), and Computer Vision (CV) algorithms, image data is collected and processed, extracting spectral data and transferred into management solutions for deforestation monitoring. AI has been used for climate change to aid in the prediction and monitoring of droughts, greenhouse gases, cloud cover, and weather patterns.
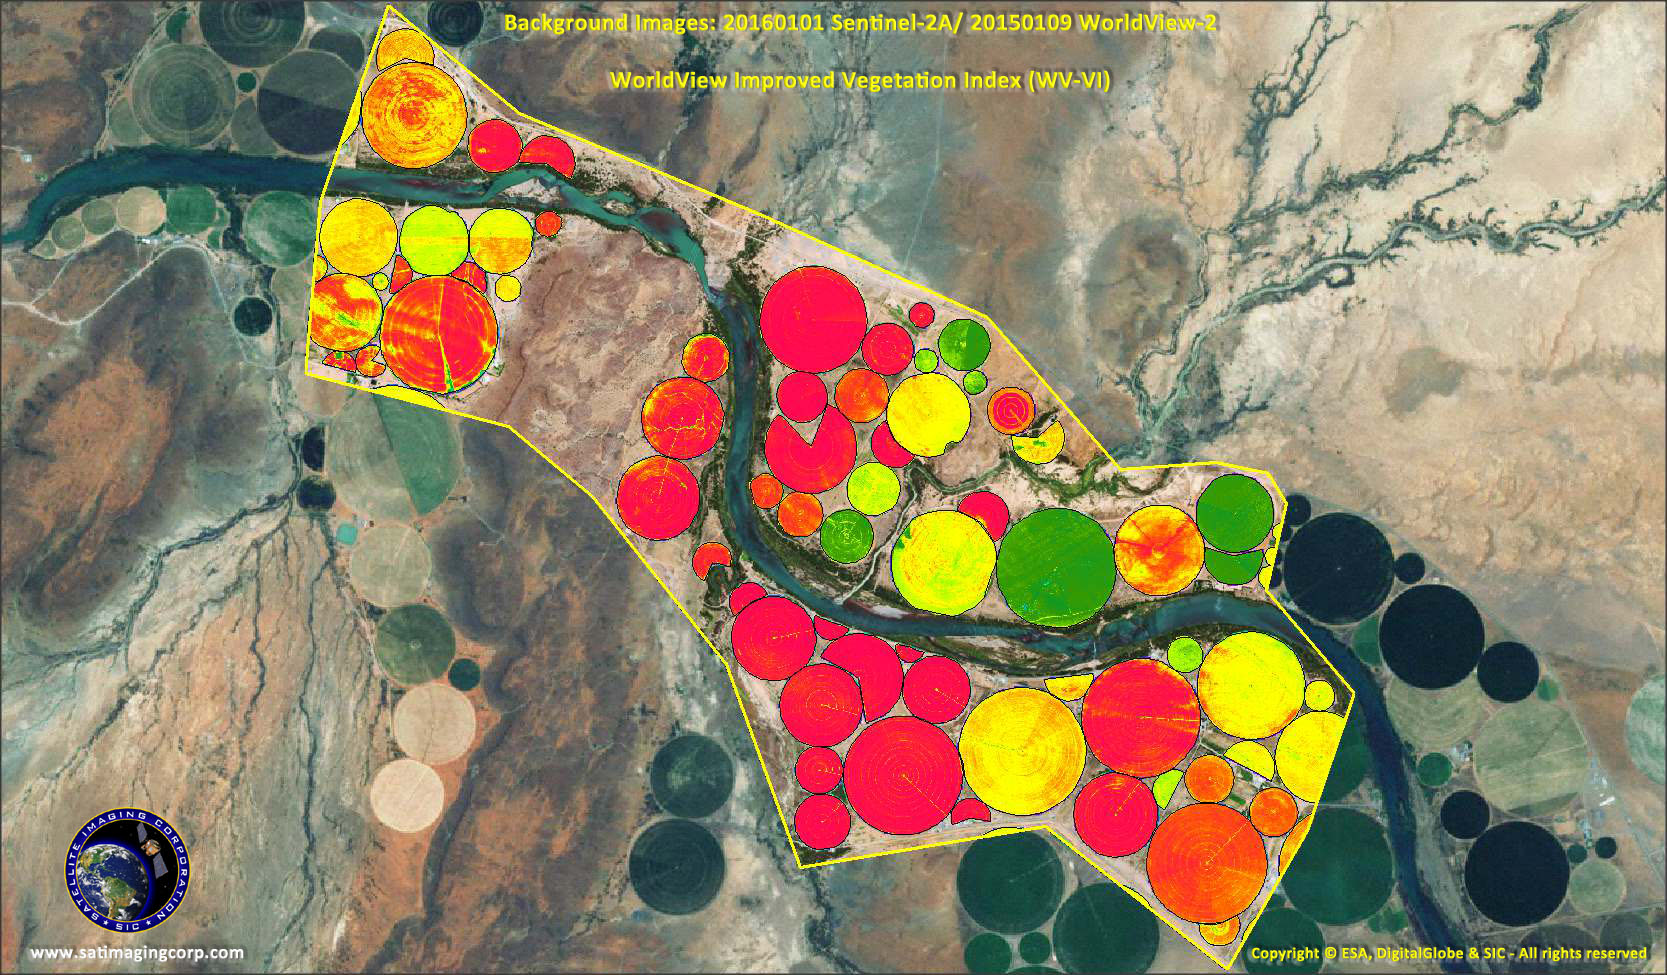
AI and Geographic Information Systems (GIS) tools can support forest monitoring and management of deforestation activities by utilizing image data collected by satellites, fix wing aircraft, or unmanned aerial vehicles (UAV). This data is collected and processed to provide NDVI and many other vegetation indices to identify land being cleared legally or illegally. The ability of AI and GIS to analyze and visualize environments and workflows has proven to be very beneficial to those involved in the forestry industry. Read more on deforestation in the Amazon Rainforest.
Visoke Volcano – Virunga National Parks, Congo (DRC) and Rwanda Deforestation
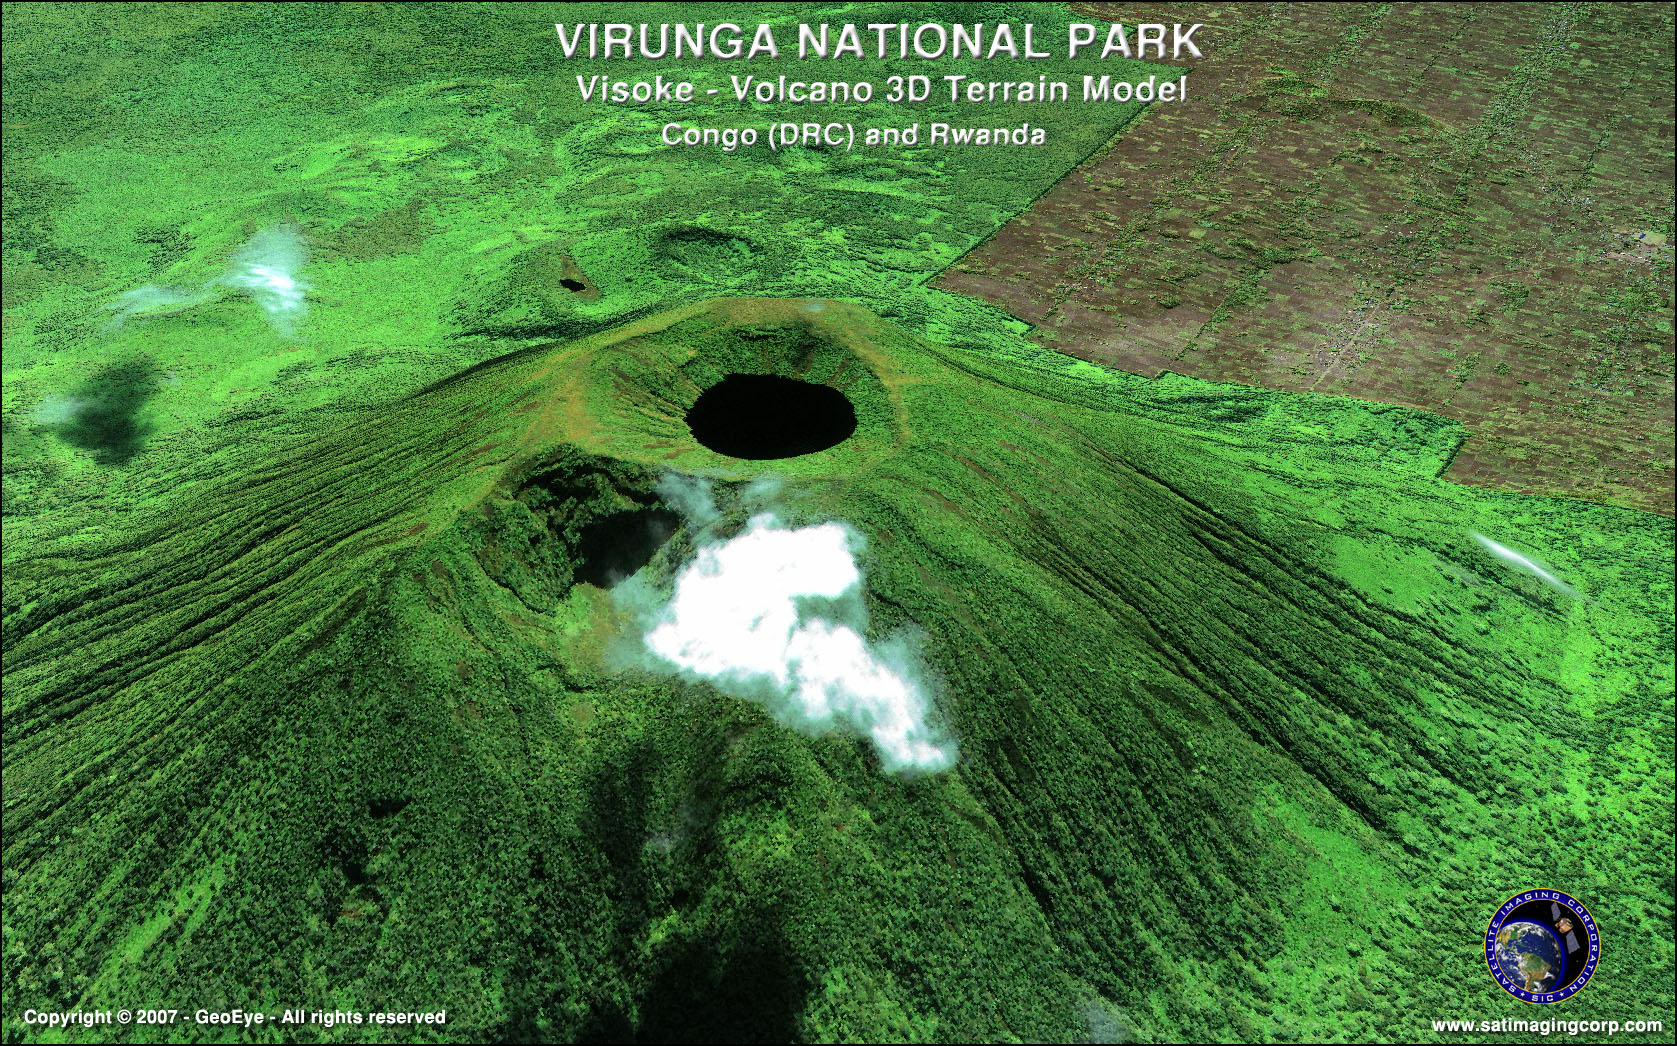
Copyright © MAXAR/processed by Satellite Imaging Corporation. All rights reserved.