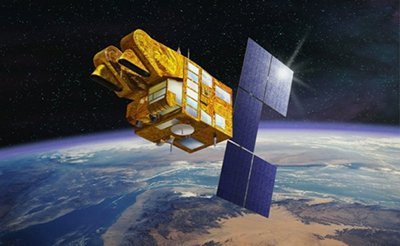
ALOS Satellite Sensor
(2.5m)
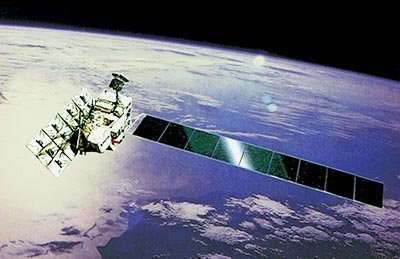
ALOS (Advanced Land Observation Satellite) has been decommissioned. ALOS was successfully launched on January 24, 2006, from the Tanegashima Space Center.
ALOS was one of the world’s largest earth observation satellites whose function is to collect global and high-resolution land observation data. ALOS data was made available at conditions similar to those of ERS and Envisat missions, namely for scientific ‘Category-1’ use as well as commercial applications.
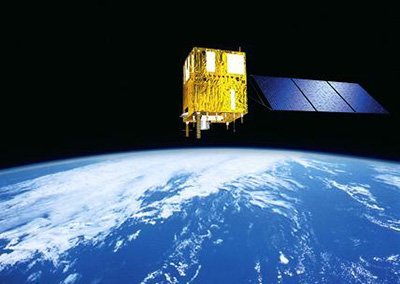
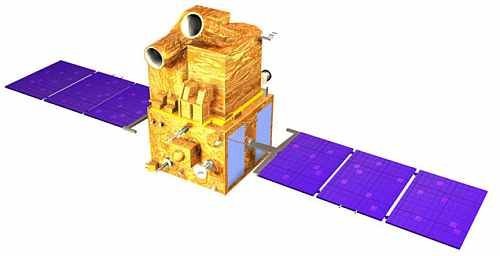
ALOS Satellite Sensor (2.5m)
Copyright © JAXA. All rights reserved.
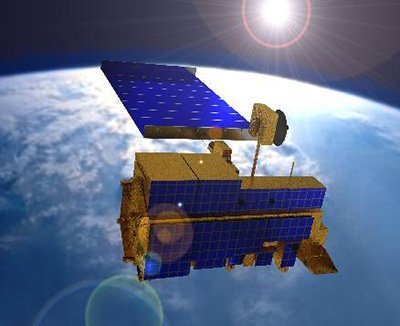
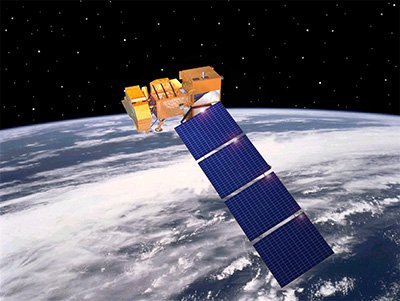
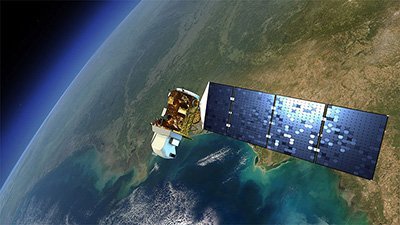
The ALOS (renamed “Daichi”) satellite sensor had three remote-sensing instruments: the Panchromatic Remote-sensing Instrument for Stereo Mapping (PRISM) and for digital elevation models (DEMs). The Advanced Visible and Near Infrared Radiometer type 2 (AVNIR-2) for precise land coverage observation, and the Phased Array type L-band Synthetic Aperture Radar (PALSAR) for day-and-night and all-weather land observation and enabled precise land coverage observation and can collect enough data by itself for mapping on a scale of 25,000:1, without relying on points of reference on the ground. Some of its objectives were cartography, disaster monitoring, natural resource surveys, and technology development.
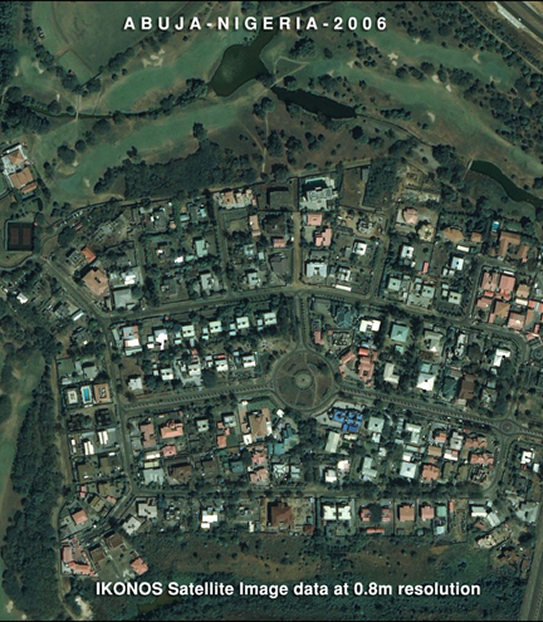
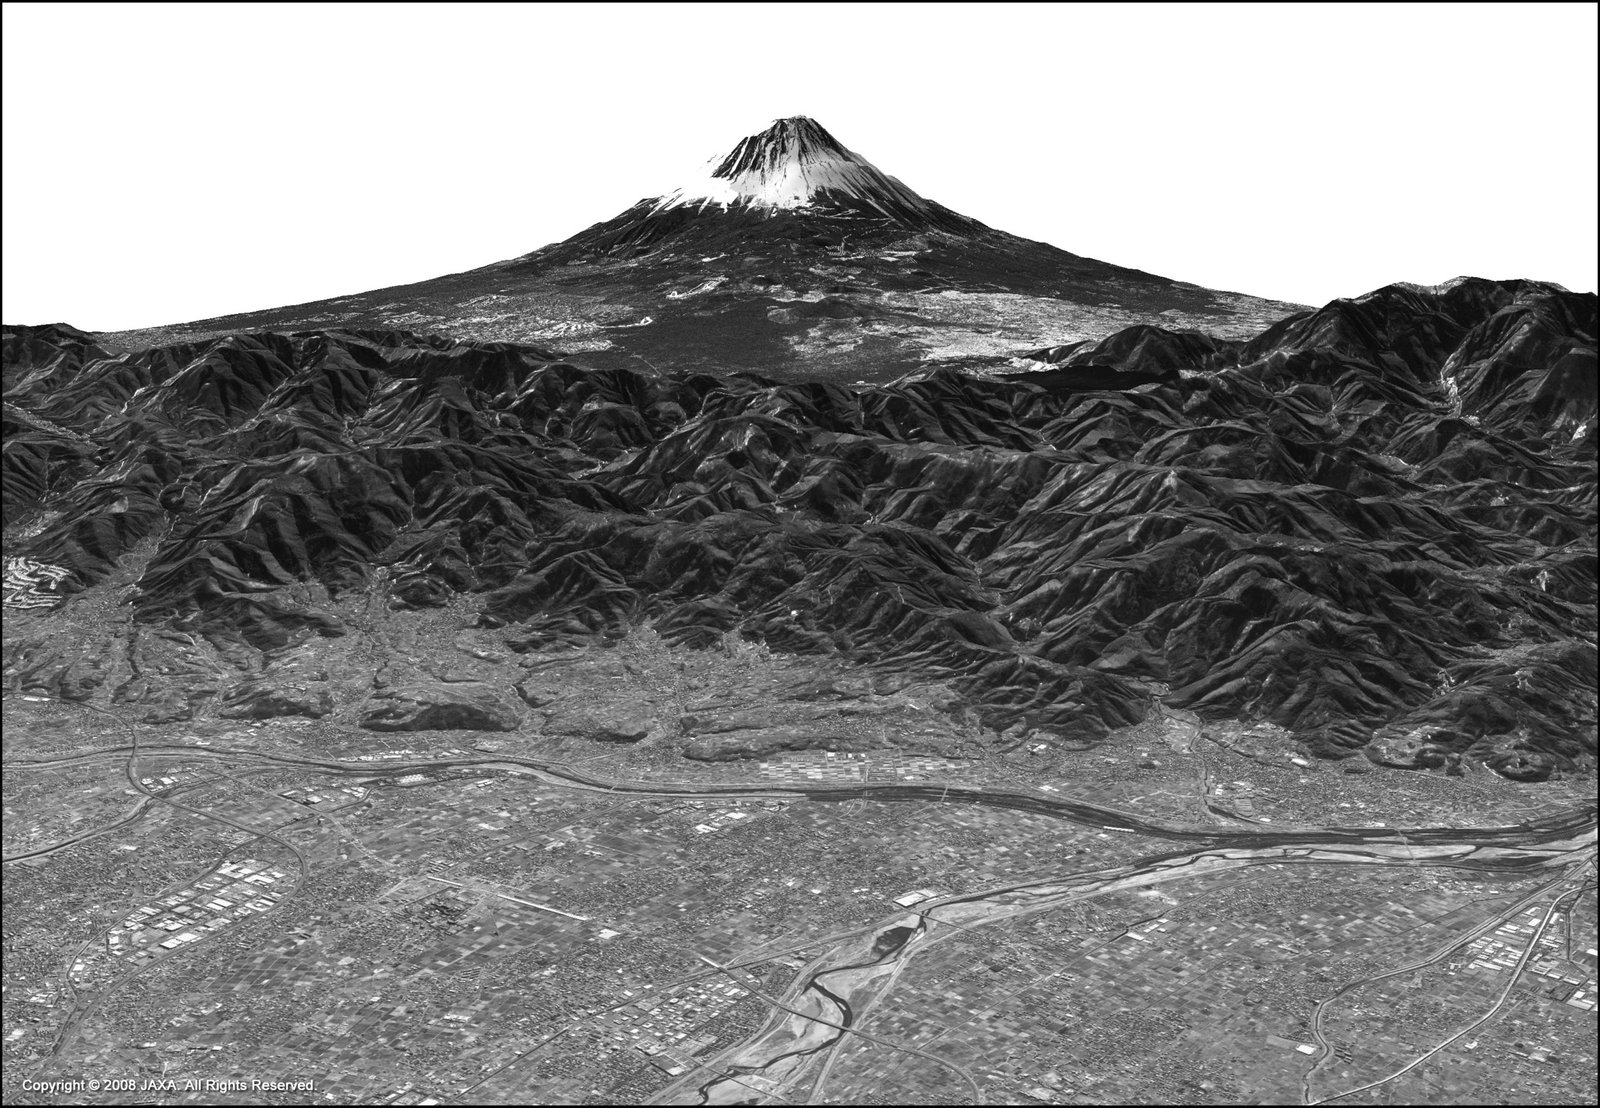
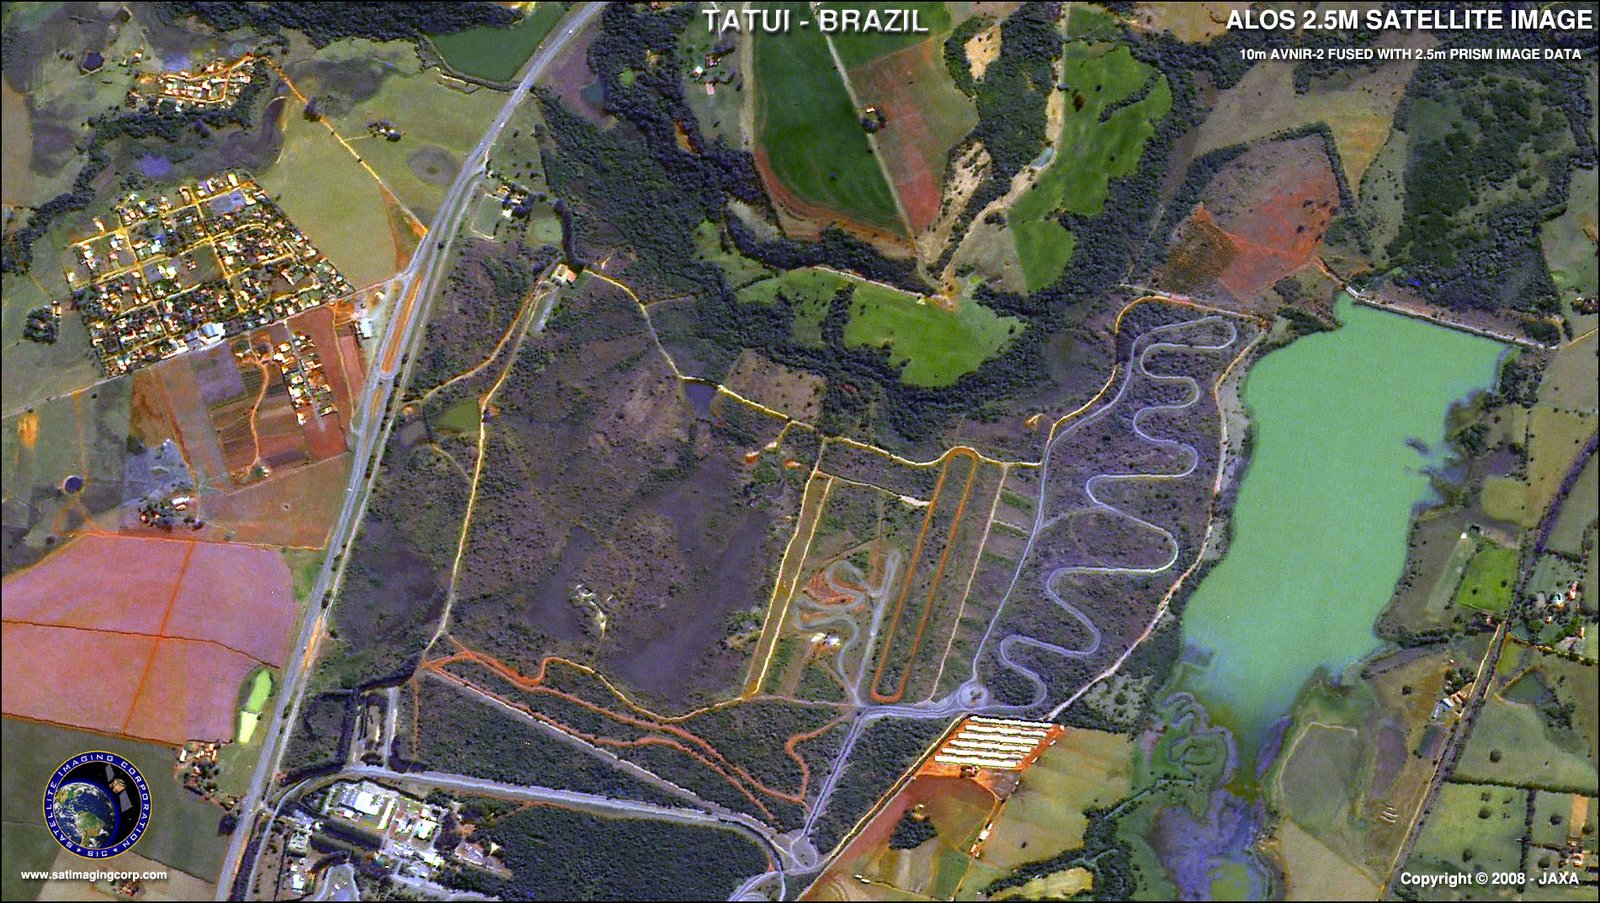
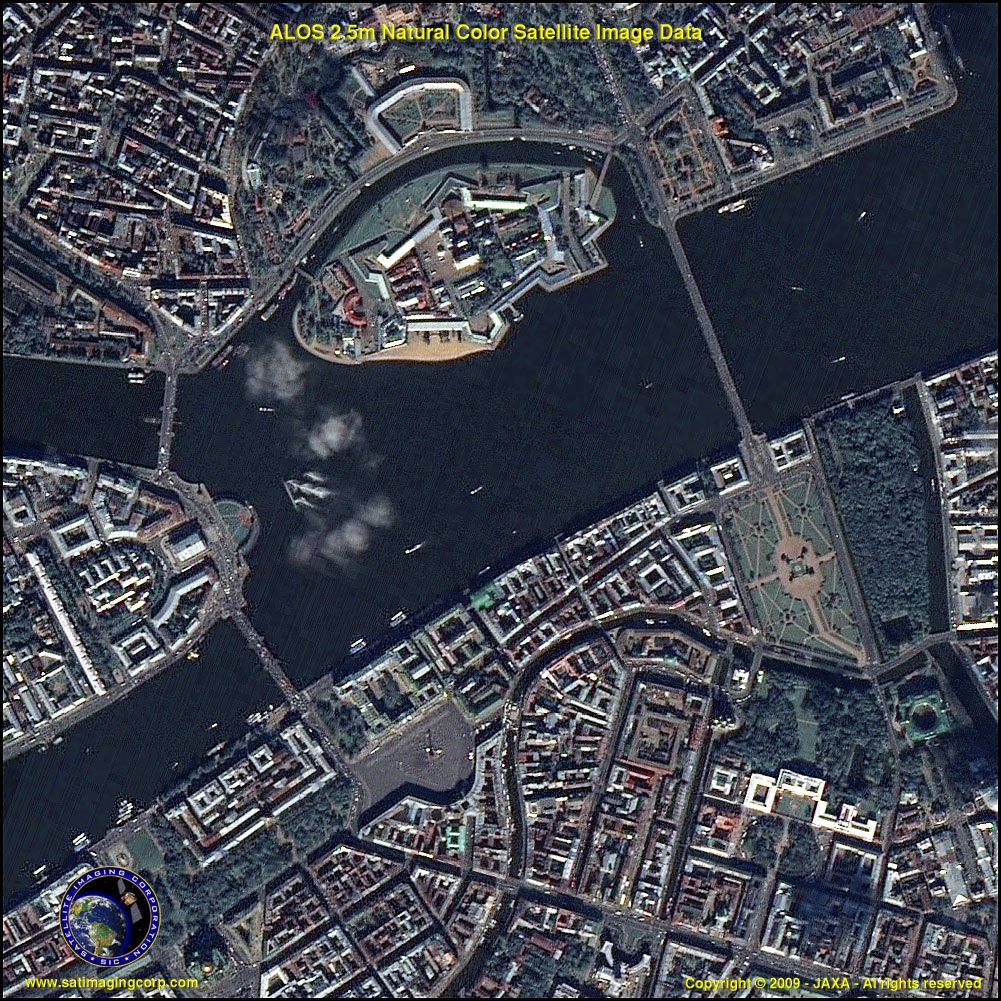
Sample Images
ALOS Archived Satellite Image Gallery
* Click on thumbnail to view in full resolution.
For more information on any of our products and image processing services, please contact us for a complimentary consultation.
In April 2011, the satellite was found to have switched itself into power-saving mode due to deterioration of its solar arrays. Technicians could no longer confirm that any power was being generated. It was suggested that metiorides may have struck ALOS, creating the anomaly which eventually led to its shutdown.
On 12 May 2011, JAXA sent a command to the satellite to power down its batteries and declared it dead in orbit.
The ALOS AVNIR-2 and PRISM Imagery and PALSAR data is available from the exiting archives.
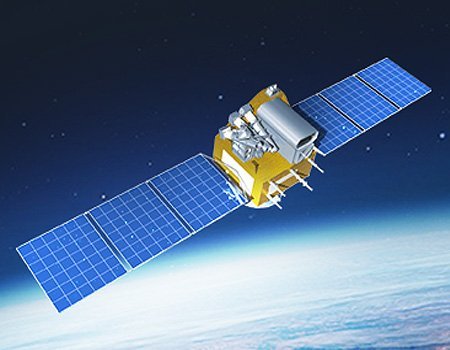
ALOS New Launches
On Saturday 24 May 2014 an H-IIA rocket orbiting the second Advanced Land Observation Satellite, Daichi-2 – better known as ALOS-2. Liftoff from the iconic Tanegashima Space Centre was on schedule at 12:05 local time (03:05 UTC). ALOS-2 will continue the L-band SAR observations of the ALOS PALSAR (Phased Array L-band Synthetic Aperture Radar) and will expand data utilization by enhancing its performance.
ALOS Satellite Sensor Specifications
Resolution
2.5m panchromatic
10m multispectral
Launch Vehicle
H-IIA Rocket
Launch Site
Tanegashima Space Center
Satellite Weight
Approximately 4,000kg (at Lift-off)
Power
Approximately 7,000W (End of Life)
Designed Life
3 to 5 years
Orbit
Sun Synchronous Sub-Recurrent Orbit
Recurrent Period: 46 days
Sub cycle: 2 days
Altitude: Approximately 692km (above the equator)
Inclination: Approximately 98.2 degrees
AVNIR-2
Band
Wavelength Region (µm)
Resolution (m)
1
0.42-0.50 (blue)
10
2
0.52-0.60 (green)
10
3
0.61-0.69 (red)
10
4
0.76-0.89 (near-IR)
10
PALSAR
Band
Frequency (GHz)
Resolution (m)
SAR-L
1.3
10 and 100
PRISM
Band
Wavelength Region (µm)
Resolution (m)
PAN
0.52-0.77
2.5


