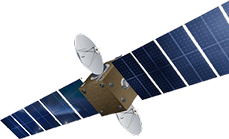
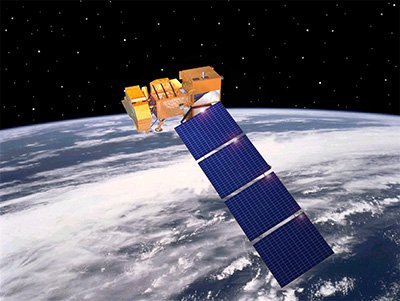
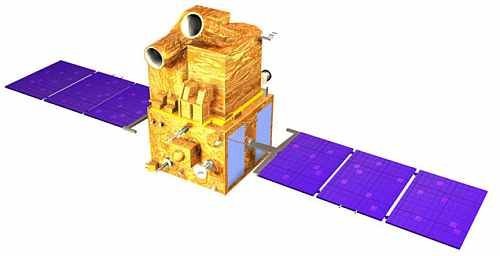
Carbon Mapper Satellite Sensor
(30m)
Carbon Mapper satellite sensor constellation is scheduled to launch in 2024, the satellites will be deployed by Planet Labs, NASA Jet Propulsion Laboratory, the University of Arizona, Arizona State University (ASU), the State of California, High Tide Foundation, and RMI. Carbon Mapper will provide a program to aid and support in understanding and reducing global methane and carbon dioxide (CO2) emissions in our atmosphere. Carbon Mapper will provide 30-meter resolution satellite image data and will address critical greenhouse gas emissions and climate change issues around the world caused by excessive methane and CO2. Carbon Mapper will provide an additional 25 + other carbon and environmental indicators to resolve and to reduce the amount of emissions in our air and our ecosystems.
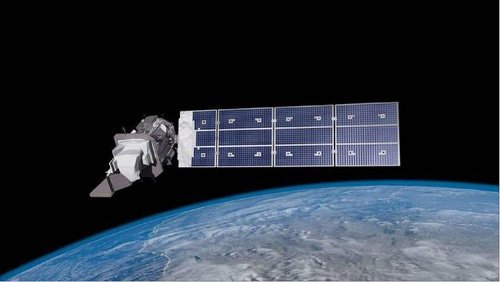
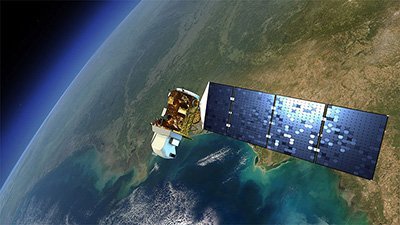
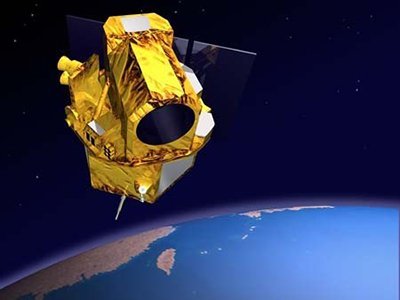
Carbon Mapper Satellite Sensor (30m)

Copyright © Planet Labs, Inc./Carbon Mapper. All rights Reserved.
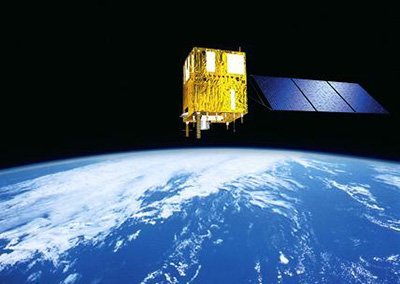
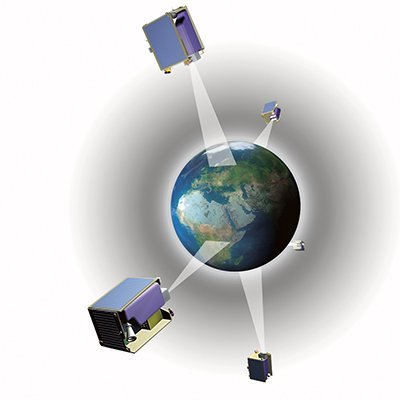
Carbon Mapper satellite will be conducted in 3 phases, Phase one, is the intial launch of two satellites and will be a fully operational satellite constellation of multiple satellites by the end of the year 2026. The satellites will be programmed in orbit to track high priority areas for tracking methane and CO2 released such as in agricultural farming and livestock containment, urban areas, landfills, energy production, power plants, and pipeline transporting.
Carbon Mapper satellite constellation image data will accelerate action to critical issues for scientists and researchers to support mitigation in reducing greenhouse gas emissions including:
- Methane leak detection to respond to emergencies and timely repairs
- Respond to methane indicators to support decarbonization
- Quantity control of global industrialization
- Improve environmental awareness to institutional, governmental entities, and societies
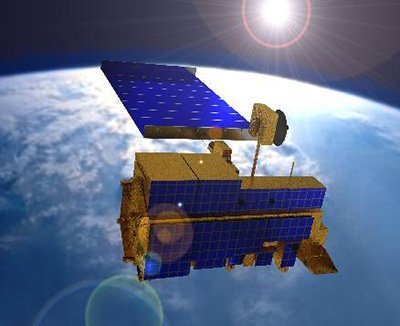
Carbon Mapper satellite constellation will have a 80% capability of the detection of methane and CO2 emissions by using remote sensing hyperspectral satellite image data that can contribute to solutions of reducing emissions in our atmosphere.
More details will become available, after the first launch.