Sentinel-2A

(10m)

Discover what’s possible.

Get a complimentary consultation today.

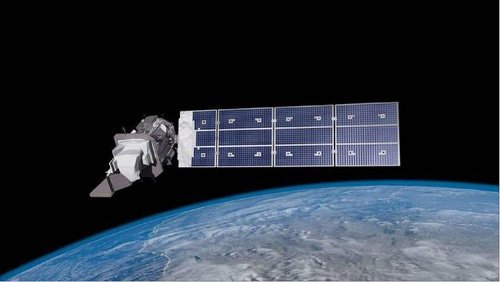
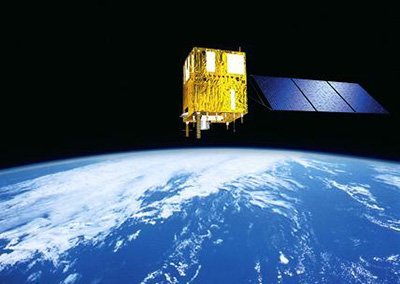
Sentinel-2A Satellite Sensor

(10m)

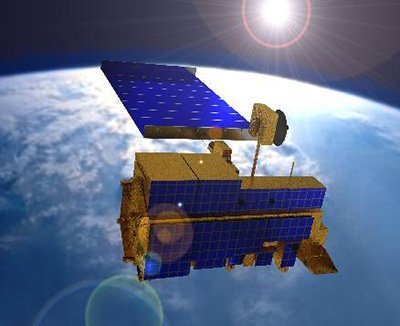
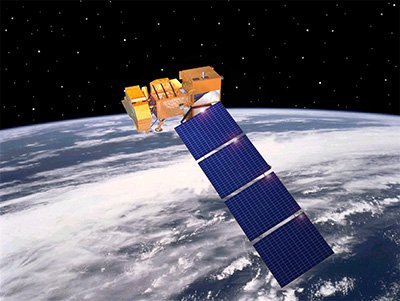
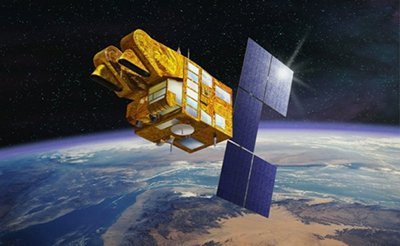
Sentinel-2A satellite sensor was successfully launched on June 23, 2015, at 03.51:58 am CEST from a Vega launcher from the spaceport in Kourou, French Guiana. Sentinel-2A satellite is the first optical Earth observation satellite in the European Copernicus program and was developed and built under the industrial leadership of Airbus Defence and Space for the European Space Agency (ESA).

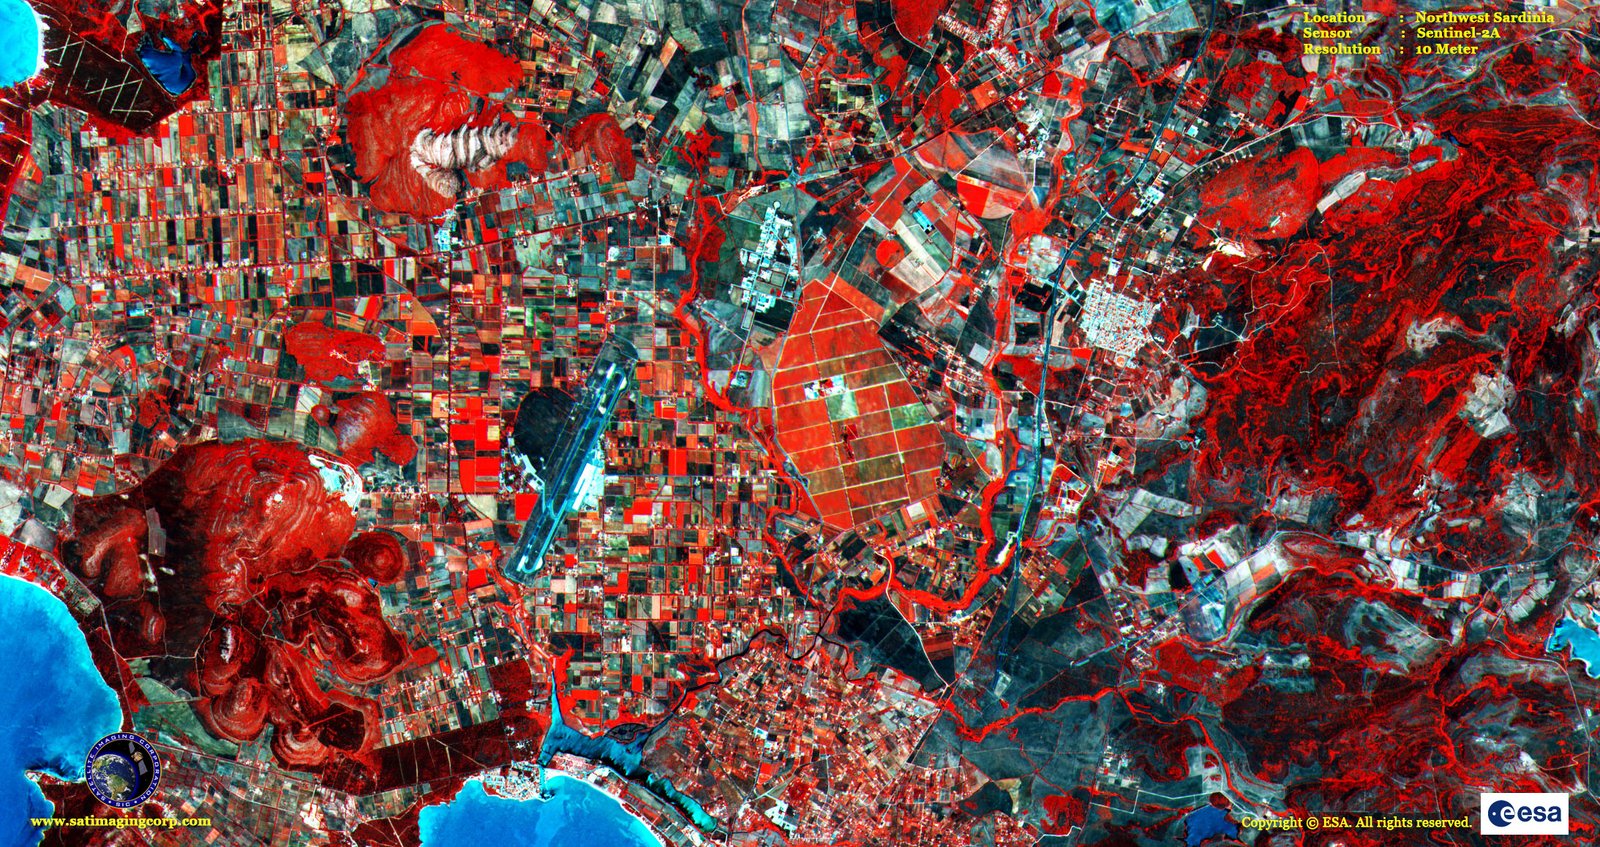
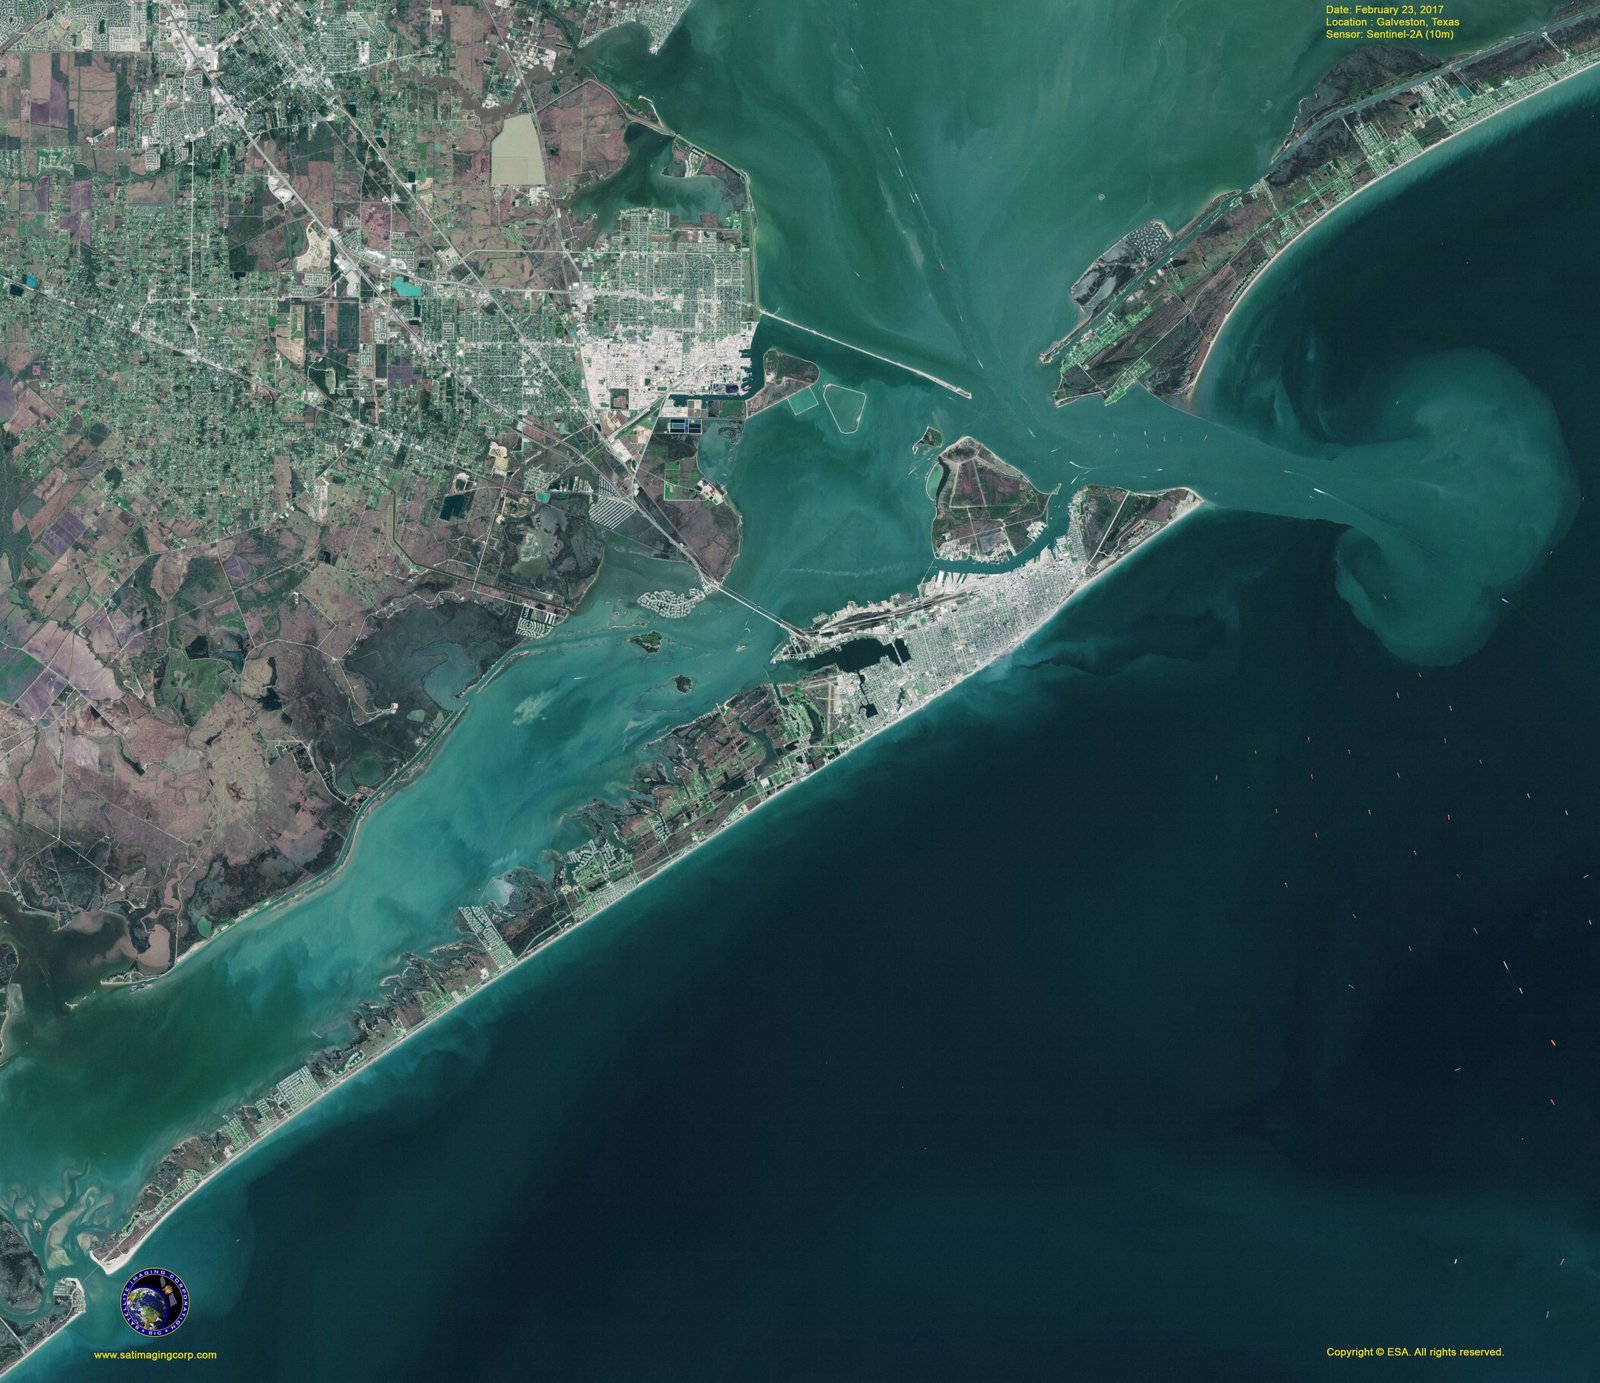
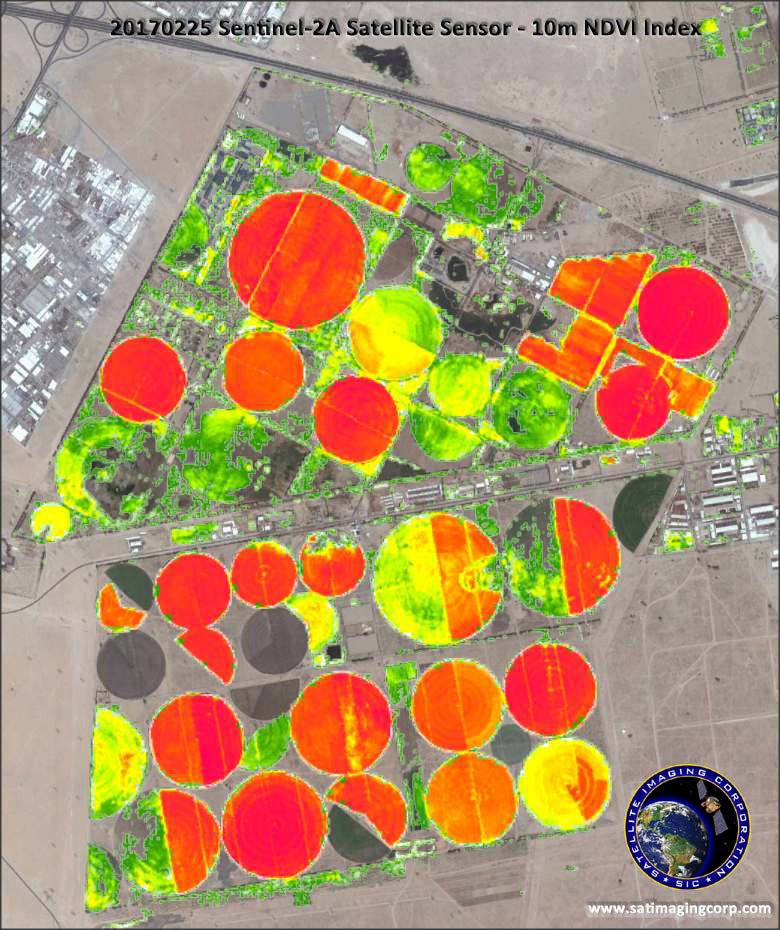
Sentinel-2A (10m) Satellite Sensor

Copyright © ESA and AIRBUS Defence & Space. All rights reserved.

Sentinel-2A satellite was built by Airbus Defence and Space will add color to the Copernicus program through the multispectral instrument that provides unique image quality. Copernicus is the new name of the European Commission’s Earth Observation Programme, previously known as GMES (Global Monitoring for Environment and Security).

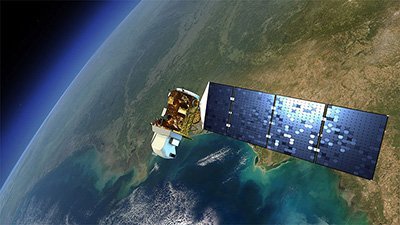
The mission is dedicated to the full and systematic coverage of land surface including major islands globally with the objective to provide cloud free products typically every 15 to 30 days over Europe and Africa.

PlanetScope Fusion

PlanetScope’s Fusion using Sentinel-2A and Sentinel-2B satellite image data at 10 m spatial resolution is resampled to 3 meter resolution. The Sentinel-2 satellite image data can support important farming and agriculture data to manage crop yields, production, health, and weather patterns. The high resolution spectral image data can provide critical information for monitoring crop health and growth, that can improve farming and agriculture production.  Sentinel-2 satellites and other earth observation satellite data can be combined using spatial, temporal and spectral advantages of multiple earth observation satellite sensors. The span of 13 spectral bands, from the visible and the near-infrared to the shortwave infrared at different spatial resolutions ranging from 10 to 60-meters on the ground, takes global land monitoring to an unprecedented level.

Sentinel-2 satellite image data will support:

  • Generic land cover, land use, and change detection maps
  • Maps of geophysical variables for leaf area index, leaf chlorophyll content, and leaf water content

The four bands at 10-meter resolution ensure continuity with missions such as SPOT-5 or Landsat-8 to address user requirements, in particular, for basic land-cover classification. The six bands at 20-meter resolution satisfy requirements for enhanced land-cover classification and for the retrieval of geophysical parameters. Bands at 60 meters are dedicated mainly to atmospheric corrections and cirrus-cloud screening.

Sentinel-2A satellite is the first civil optical Earth observation mission of its kind to include three bands in the ‘red edge’, which provide key information on the vegetation state.

Sentinel-2A satellite will be able to see very early changes in plant health due to its high temporal, spatial resolution, and 3 red edge bands. This is particularly useful for the end-users and policymakers for agriculture applications and to detect early signs of food shortages in developing countries.
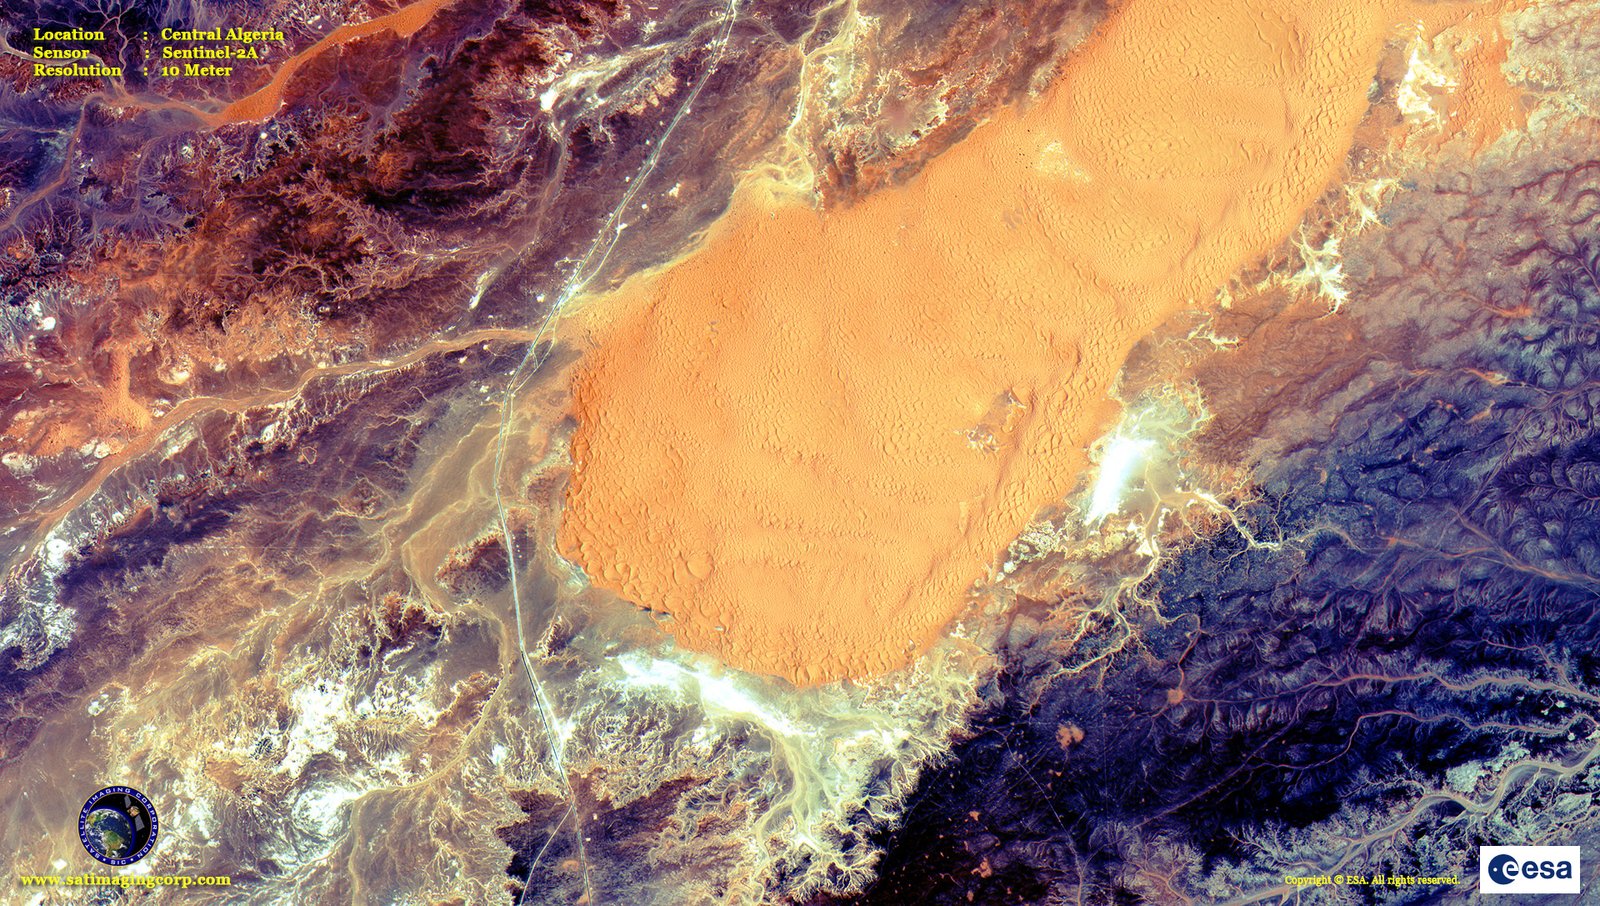
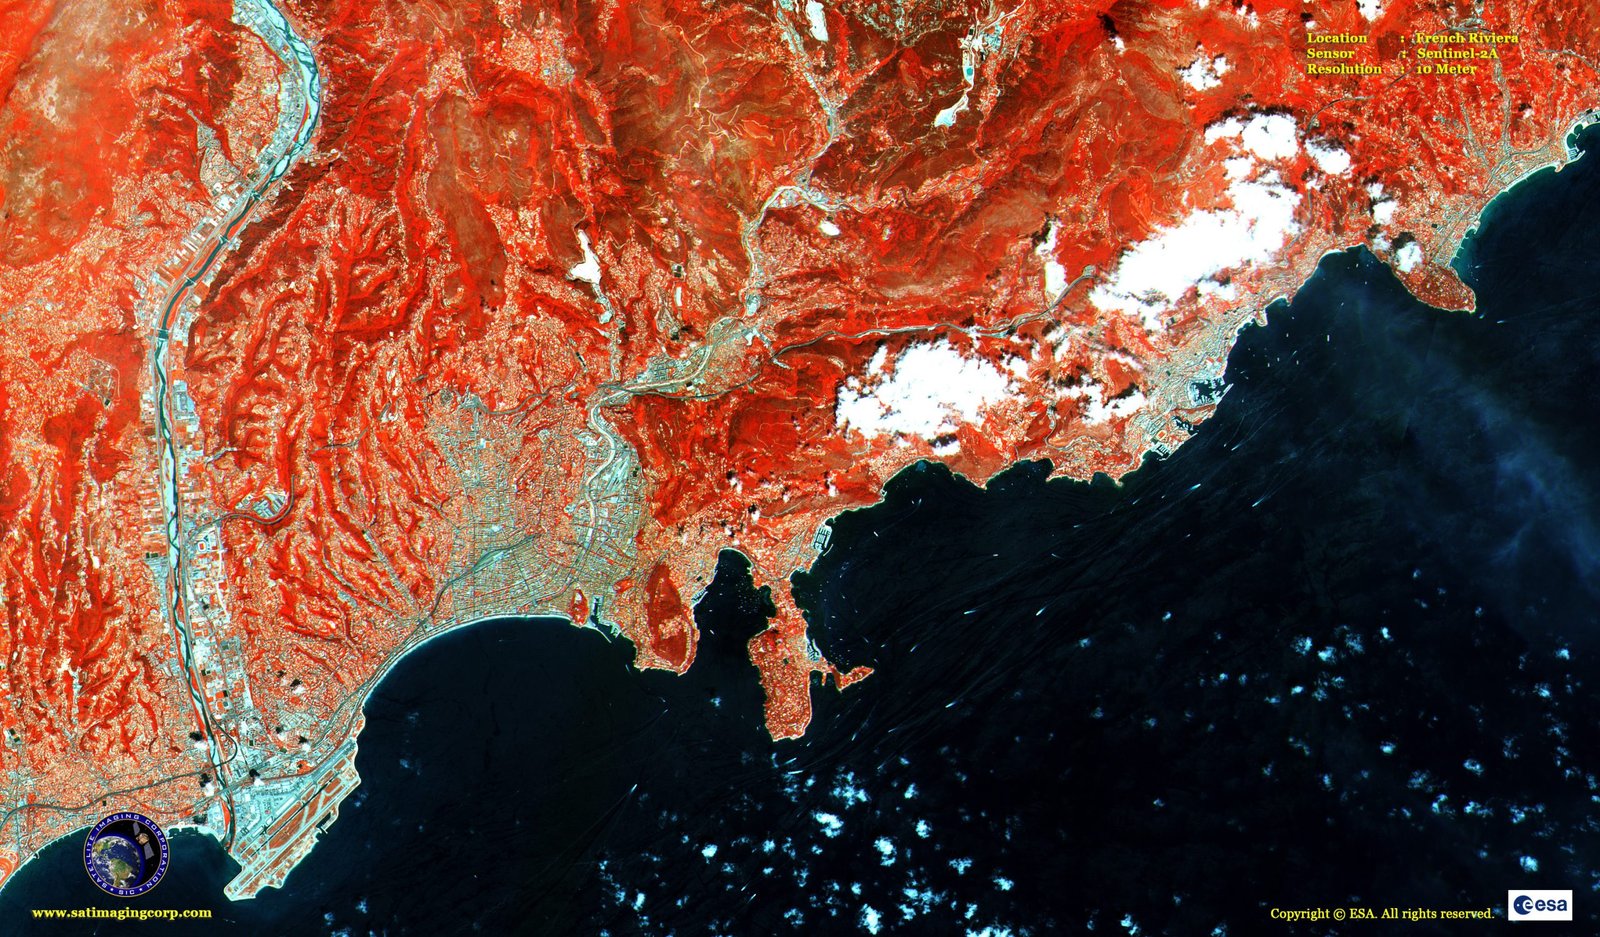
Sample Images

Sentinel-2A Satellite Image Gallery

* Click on thumbnail to view in full resolution.

For more information on any of our products and image processing services, please contact us for a complimentary consultation.

Sentinel-2A and 2B Satellite Sensor Specifications

Sentinel-2A launch

June 2015, by Vega from Kourou, French Guiana

Sentinel-2B launch

July 2016, by Rockot from Plesetsk, Russia
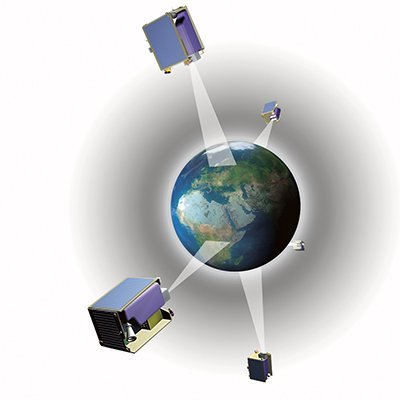
Orbit

Sun-synchronous at altitude 786 km, Mean Local Solar Time at descending node: 10:30 (optimum Sun illumination for image acquisition)

Geometric revisit time

Five days from two-satellite constellation (at equator)

Design life

Seven years (carries consumable for 12 years: 123 kg of fuel including end of life deorbiting)

MSI (Multispectral Imager)

MSI covering 13 spectral bands (443–2190 nm), with a swath width of 290 km and a spatial resolution of 10 m (four visible and near-infrared bands), 20 m (six red edge and shortwave infrared bands) and 60 m (three atmospheric correction bands).
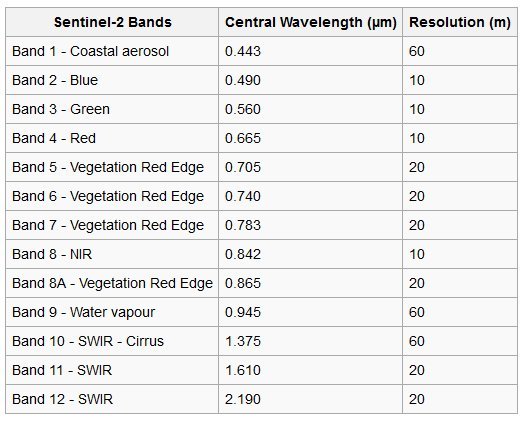
Receiving stations

MSI data: transmitted via X-band to core Sentinel ground stations and via laser link through EDRS. Telecommand and telemetry data: transmitted from and to Kiruna, Sweden

Main applications

Agriculture, forests, land-use change, land-cover change. Mapping biophysical variables such as leaf chlorophyll content, leaf water content, leaf area index; monitoring coastal and inland waters; risk and disaster mapping

Mission

Managed, developed, operated and exploited by various ESA establishments

Funding

ESA Member States and the European Union

Prime contractors

Airbus Defence & Space Germany for the satellite, Airbus Defence & Space France for the instrument

Cooperation

CNES: Image quality optimization during in-orbit commissioning
DLR: Optical Communication Payload (provided in kind)
NASA: cross calibrations with Landsat-8

Other Satellite Sensor

IMAGING Corporation Satellite Sensors

Ready to get started?

Contact us for a custom imagery solution or request a quote

TESTIMONIALS

Stories & Experiences

Lorem ipsum dolor sit amet, consectetur adipiscing elit, sed do eiusmod tempor incididunt ut labore et dolore magna aliqua. Ut enim ad minim veniam, quis nostrud exercitation. .

FAQ’S

Frequently Asked Questions

How to find Geographic Coordinates in Google maps?

To find geographic coordinates in Google Maps, you can follow these steps:

  1. Open Google Maps in your web browser or on your mobile device.

  2. Search for the location you want to find the geographic coordinates for by entering the address, landmark, or name of the place in the search bar at the top of the page.

  3. Once the location is displayed on the map, right-click (or long-press on mobile) the exact point on the map where you want to find the coordinates. This will open a small menu.

  4. In the menu that appears, click on “What’s here?” or “What’s here? – Coordinates” option. On mobile devices, you may need to tap on the location marker first to reveal the menu options.

  5. A small information box will appear at the bottom of the screen, displaying the latitude and longitude coordinates of the selected point. The coordinates will be shown in decimal degrees format.

  6. You can click on the coordinates in the information box to expand it and see the coordinates in different formats, such as degrees, minutes, and seconds (DMS) or Universal Transverse Mercator (UTM) format.

To create a KML (Keyhole Markup Language) file in Google Earth, you can follow these steps:

  1. Download Google Earth Pro and Open on your computer.

  2. Navigate to the location or area you want to create a KML file for by using the search bar, zooming in/out, and panning on the map.

  3. Customize the view and layers in Google Earth Pro to include the specific data or elements you want to include in your KML file. This can include placemarks, paths, polygons, overlays, images, and more.

  4. Once you have set up the desired view and layers, go to the “Add” menu at the top of the screen and select the type of element you want to add (e.g., placemark, path, polygon, image overlay).

  5. Follow the prompts to add the specific element and provide the necessary information, such as location coordinates, name, description, and any additional properties or styling options.

  6. Repeat the previous step if you want to add more elements to your KML file.

  7. After adding all the desired elements, go to the “File” menu and select “Save Place As.”

  8. In the “Save Place As” dialog box, choose a location on your computer where you want to save the KML file.

  9. Specify the name of the KML file, ensuring it has the .kml extension (e.g., myfile.kmL), you may need to select KML as GoogleEarth defaults to KMZ formats.

  10.  Click the “Save” button to save the KMZ file to the specified location on your computer.

Ordering commercial high-resolution and medium-resolution satellite maps process:

  1. Identify your requirements: Determine the specific needs for the satellite maps, including the desired resolution, geographic coverage, acquisition date, and any additional specifications such as spectral bands or cloud cover constraints.

  2. Contact Us: Reach out to us to inquire about our imaging product and services. Provide us with the details of your requirements, including the area of interest, resolution, and any other specifications.

  3. If there is high urgency for imagery, please let us know that this is a time sensitive project. Any project deadlines should be included with your initial contact.

  4. Request a quote: Ask for a formal quote for the satellite maps you need. The quote should include information such as the cost, delivery timeline, licensing terms, and any additional services like data processing or analysis.

  5. Review the quote: Evaluate the quote provided by us and if needed, we can negotiate the terms, pricing, or any specific requirements that may not be fully covered.

  6. Confirm the order: Once you are satisfied with the quote and have reached an agreement, confirm your order. We will guide you through the necessary steps for payment and delivery.

  7. Receive the satellite maps: After the order is confirmed and payment is processed, you will receive the satellite map data in the specified format. This may include downloading the data from a secure portal or receiving physical media, depending on delivery method.

  8. Utilize the satellite maps: With the satellite maps that you receive, you can utilize it for your intended purposes, such as GIS data, 3D terrain maps, disaster, geospatial data, and other applications as needed.

Satellite map raw files refer to the unprocessed and unedited data captured by satellite sensors. These files contain the raw data received by the satellite sensors, including the reflected or emitted electromagnetic radiation from the Earth’s surface.

Satellite map raw files typically come in specialized formats specific to each satellite sensor or provider. These formats may include formats like GeoTIFF (georeferenced Tagged Image File Format) or ENVI (Environment for Visualizing Images). The raw files preserve the original sensor readings, which can include various spectral bands, radiometric information, and geometric parameters.

Raw files require processing to convert them into usable formats, such as georeferenced images or digital elevation model(DEM). Processing steps may involve radiometric and geometric corrections, atmospheric compensation, calibration, orthorectification, and mosaicking, among others.

Once processed, raw files can provide valuable information for various GIS data applications, including 3D terrain maps, agriculture production maps, vegetation maps, and disaster maps.

To download satellite maps from an FTP (File Transfer Protocol) server, you can follow these general steps:

  1. Obtain the FTP server information: Get the FTP server details from the satellite maps provider or the source you are accessing. This includes the FTP server address, username, password, and potentially the directory path to the imagery files.

  2. Choose an FTP client: Select an FTP client software or application that allows you to connect to the FTP server and perform file transfers. Some popular options include FileZilla, WinSCP, Cyberduck, or the built-in FTP functionality of certain web browsers.

  3. If you are unable to download an FTP client due to software locks, Windows has a built in FTP Protocol that can be accessed by copying the URL of the FTP server in your Windows File Explorer.

  4. Depending on the method to connect to the FTP, you will need credentials including a Username and Password to access these file.

  5. Most FTP clients will allow you to Copy and Paste or Drag and Drop the files from the client window to your local files.

Remember to comply with any terms and conditions associated with the satellite map data, including usage restrictions, licensing agreements, and any attribution requirements specified by the provider.

For any other questions or for a consultation, please contact us.

Scroll to Top